
5 composition tips for stronger photos
Have you ever photographed a really interesting subject or scene, only to be disappointed with the results? Many beginners overlook composition, however it’s essential in taking a strong photo. Effective composition helps to direct the viewer’s eye around the frame, can create visual interest in what might be an otherwise ordinary subject and can help convey your message.
So, what exactly is composition? On a really simple level, composition is the way that elements are arranged within the image frame. Strong composition is less about following “rules” – in art, most rules are made to be broken at some point anyway! But there are techniques that can help us achieve good results. Here are five helpful tips that you can incorporate to strengthen your photos.
#1 Rule of thirds
While technically not a rule, the “rule of thirds” is a popular compositional technique, especially in landscape photography, but it can be used when taking any type of photo.
With rule of thirds, we imagine a grid over the image frame. The idea is that if we place the main subject on one of the lines or intersections, it makes for a more dynamic composition. Essentially, this is about offsetting your subject, rather than placing it in the centre of your frame.
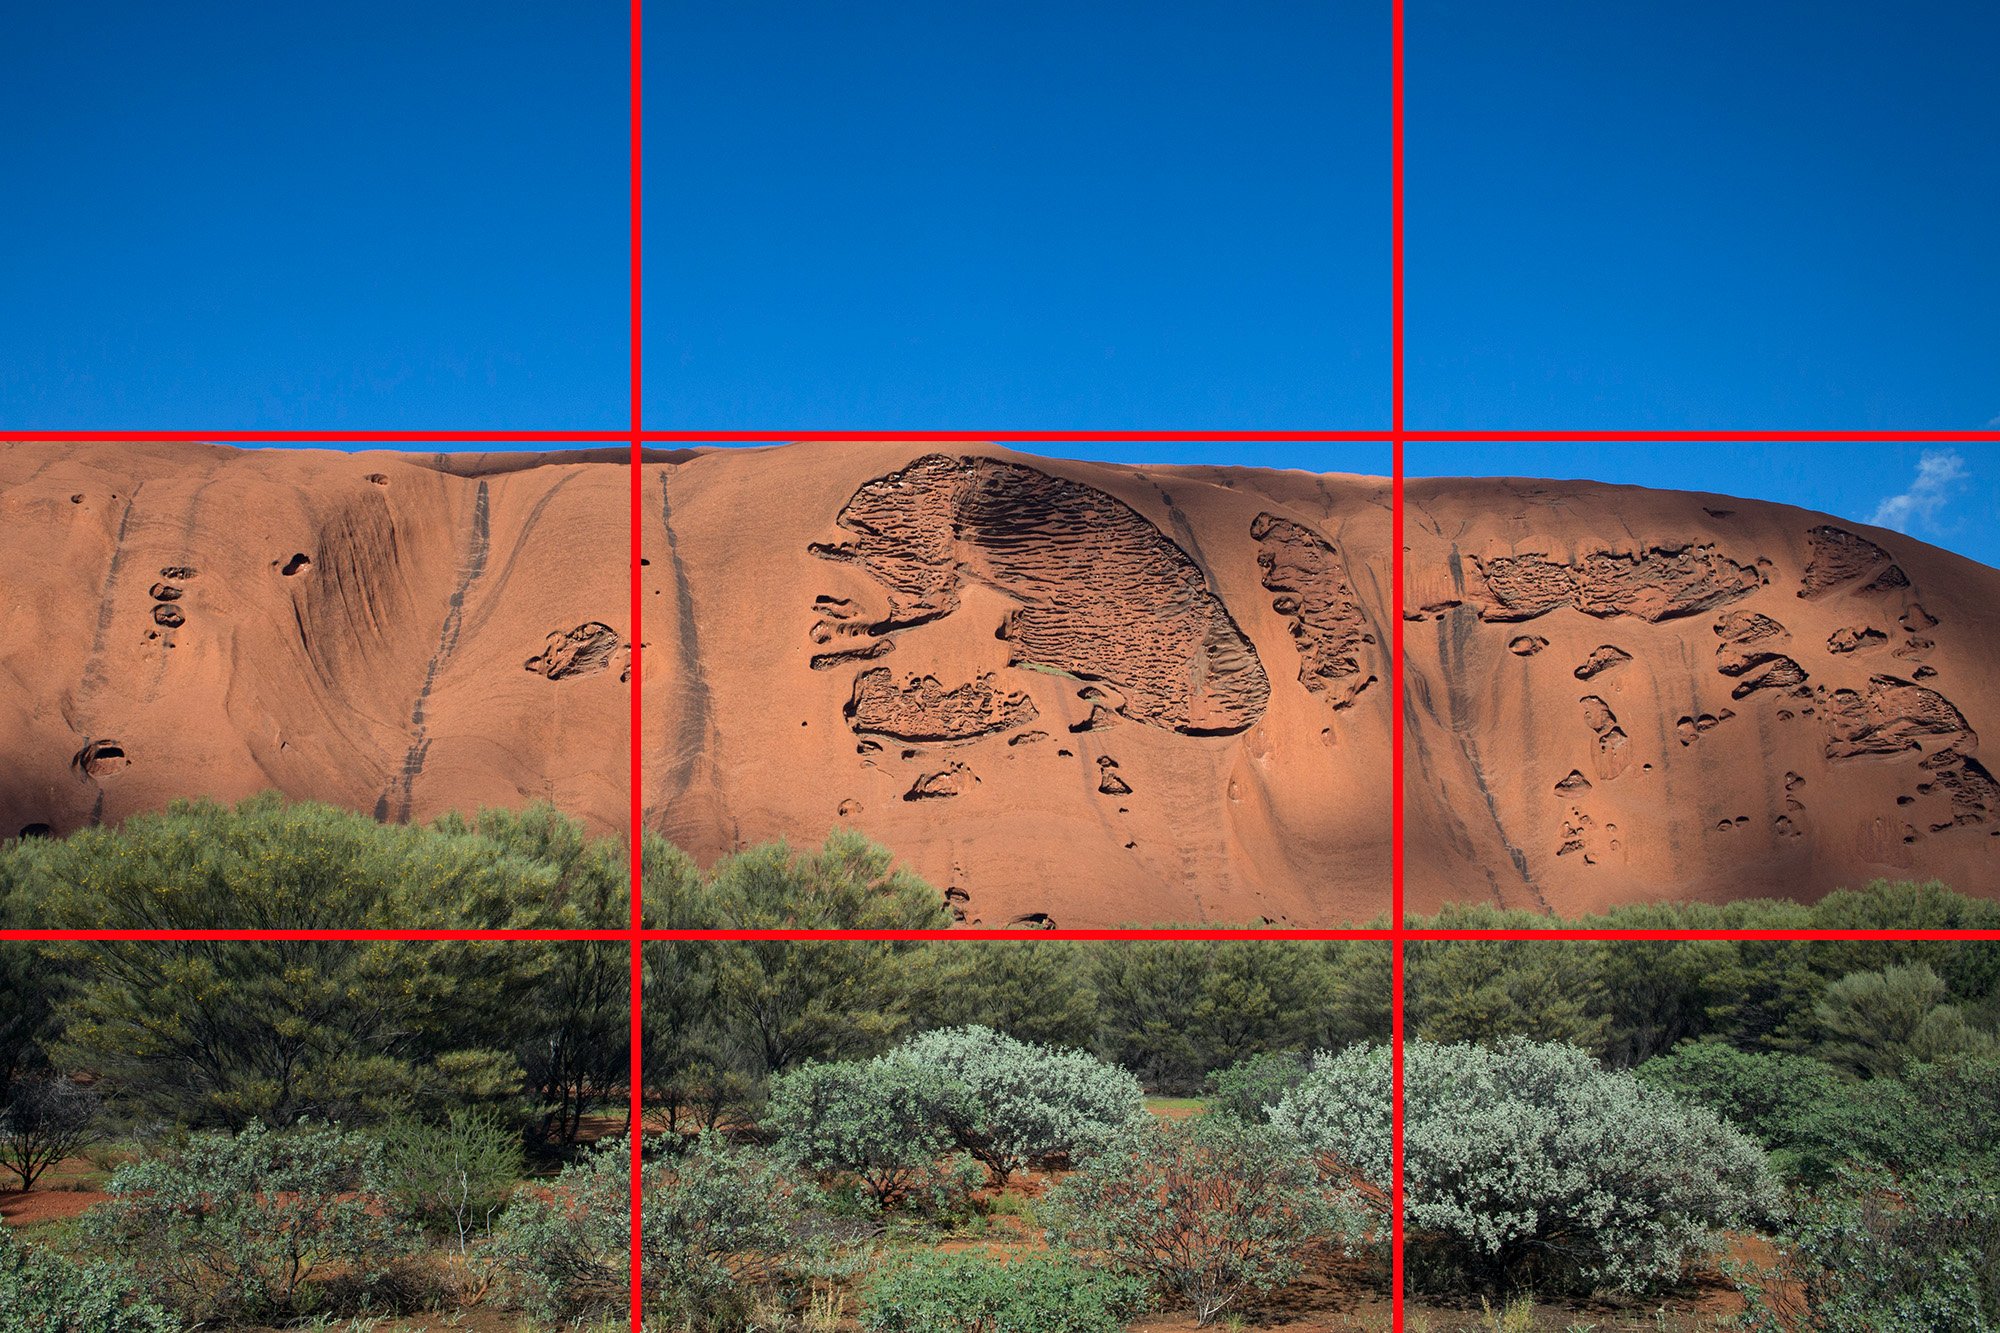
Rule of thirds
#2 Viewpoint
Viewpoint is the position we take the photo from. It’s very tempting to just shoot at eye level. However, shooting from an unusual angle can suddenly make an everyday subject look more interesting. In addition, a low or high angle can help to eliminate distractions.
In this example, I got close to the tree and pointed the camera upwards in order to emphasize the texture of the burnt trunk and isolate it against the rest of the forest.

Viewpoint
#3 Foreground, middle ground, background
Have you ever felt your images are looking a bit flat and uniform? It can be quite challenging to translate a 3D scene into a 2D photo!
A great way to break up the image frame and add more depth is by considering the foreground, middle ground, and background of a photo. This might be through experimenting until you find a better angle or viewpoint. In this example, I also used what is called a shallow depth of field to focus solely on the sign in the middle ground. The yellow blossoms become the foreground and the purple blossoms become the background.
Finding these three distinct sections to a photo is not always possible, but even separating your image into a foreground and background can add more interest.

Foreground, middle ground, background
#4 Negative and positive space
In photography, positive space is the main subject (or point of interest) and negative space is the area around the main subject, for example, the sky. Negative space helps to emphasize and balance the main subject – this creates a buffer and lets it “breathe.”
In this example, allowing extra space makes the tree seem vulnerable and provides a sense of scale. So, don’t be afraid to move away from your subject, zoom out and give it some extra space.

Negative space
#5 Repetition
If you pay attention, you’ll notice repetition is everywhere. Incorporating repetition can be a really effective way of adding unity and rhythm to your photos. In this case, I was photographing Anzac Day and noticed navy cadets standing in a line, their hands forming repetitive shapes. However, you can also experiment with other repeating visual elements like line, colour or texture.
This could be a row of trees; a line of fence posts; or a garden bed of flowers. For stronger photos, try getting in nice and tight to really draw the viewer’s attention to the repeating element.

Repetition
One final tip – in the same way that a great recipe allows a single hero ingredient shine, it’s best not to try and incorporate too many compositional different techniques into the one photo. Why not choose one of the above techniques and test it out?
Want to develop your photography skills further? Book an individual photography lesson here.